

Getting started
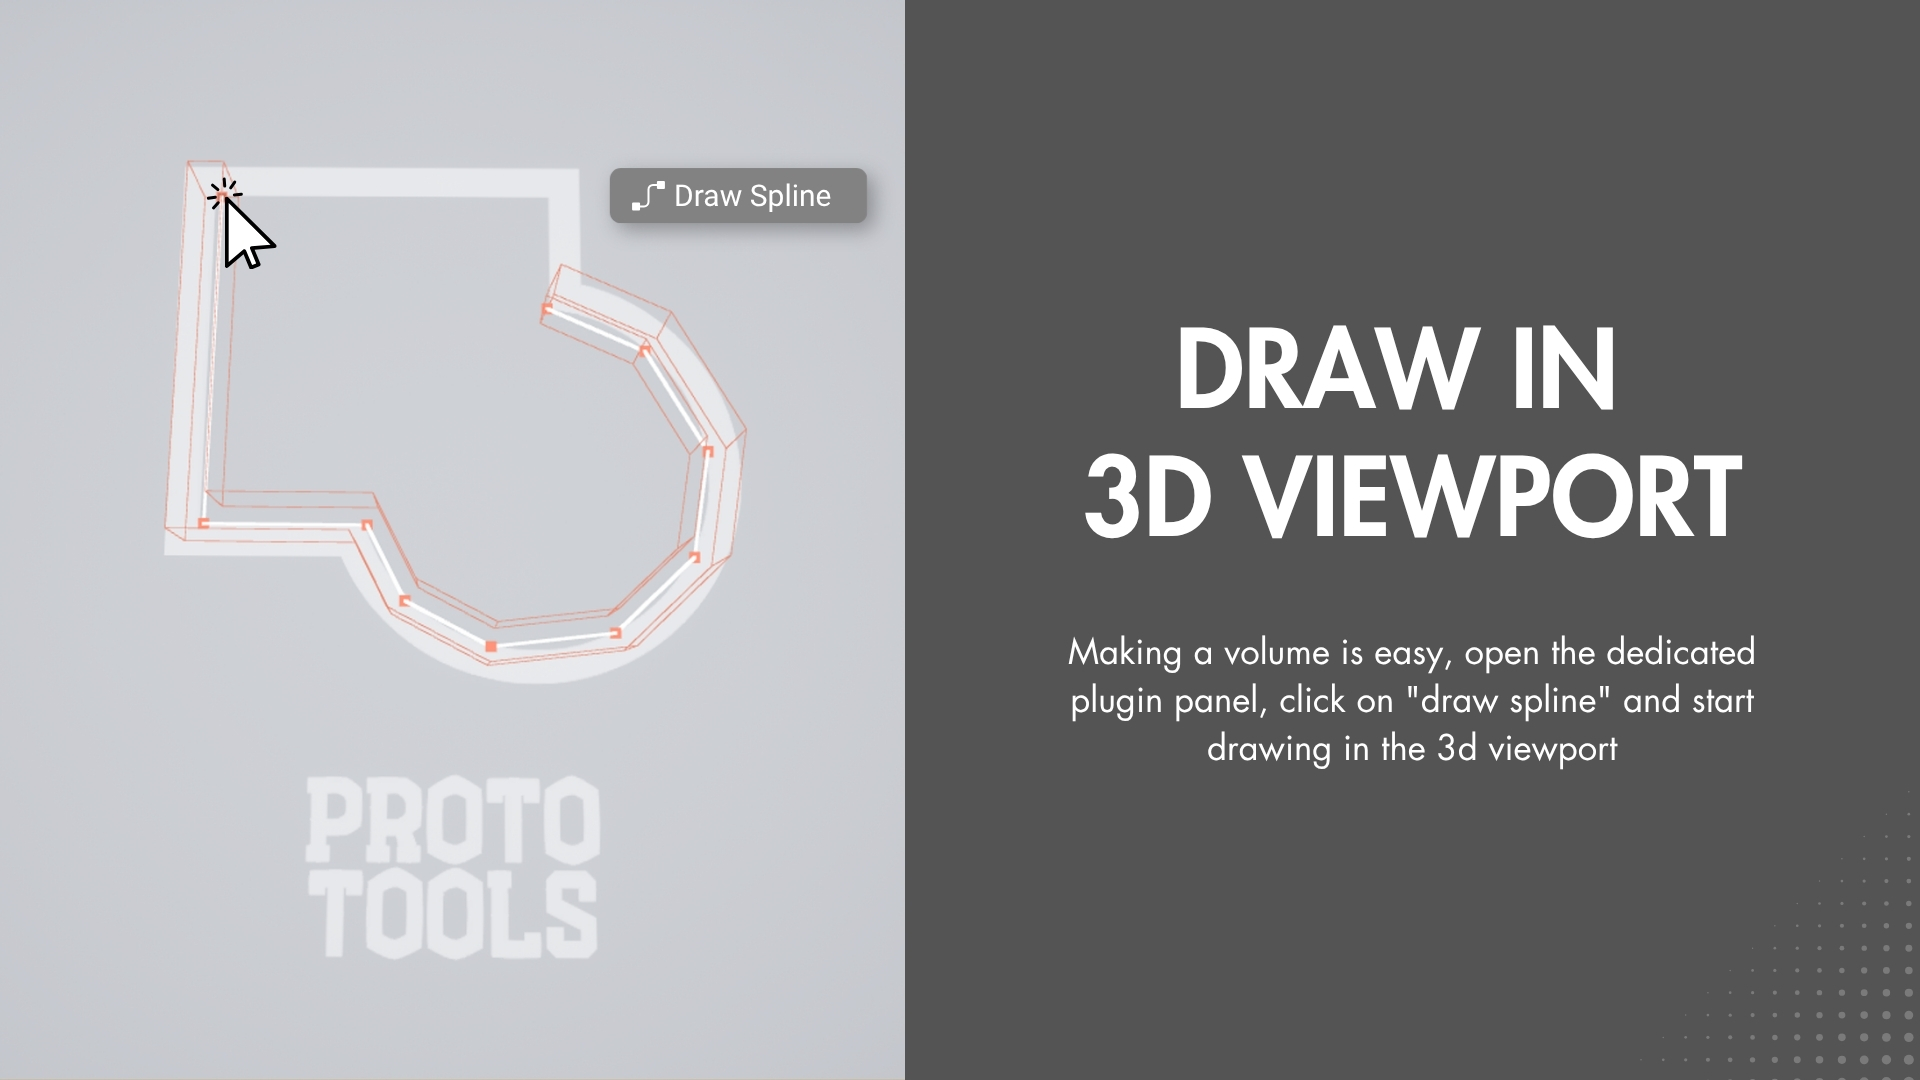
Draw your first volume
Open the panel: Proto Tools ▸ Proto Spline Volume (also under Window, Level Editor category).

Press Draw Spline, then 🖱️ click in the viewport to place points.

Input Result Click Place a point Shift + Click Remove the last point Click the first point Close the loop (or tick Closed in the settings) Finish the spline.
EnterConfirm the splineEscCancel drawingThe Confirm and Cancel buttons in the panel do the same thing.
The new volume is selected and ready to edit.
The draw settings (type, width, height, offset mode…) apply to the volume you are about to create, and the live preview shows real width and height as you click.
TIP
Set the type before you draw if you already know what the volume is for — though you can switch it later without redrawing.
Points land on whatever the cursor hits, which in a dressed level is often a prop rather than the floor. Geometry hidden in the editor is skipped automatically, and you can list whole Outliner folders for the cursor to trace through — see Surface filtering.
Next steps
- Volume types — pick what the volume actually does
- Editing a volume — reshape it in the viewport
- The panel — volume list, filtering, visibility, multi-select
- Surface filtering — draw through props and clutter